For the holiday season, I decided to take on a little DIY project…pearl bobbypins. What a great accessory to add a little grace, beauty and daintiness to your look, especially during the holiday season. I was recently inspired by a magazine article I read on hair styles with the adjacent page featuring a pearl necklace, but who can forget the Spring 2012 Chanel runaway look where the models adorned their hair with lots of little pearls?! So classic, so beautiful, so Chanel! Here’s the step-by-step of my recreation…
You will need:
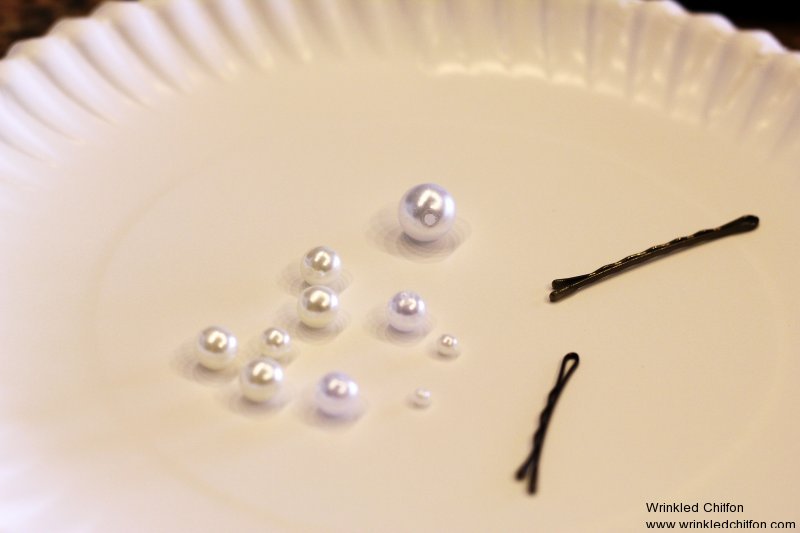
– loose pearls (either plucked from an old necklace or purchased in store – mine are from Jo-Ann Fabrics)
– bobby pins (purchased at Sally Beauty Supply)
– 32 gauge steel wire (I used sterling silver wire bought at ACE Hardware, Similar here)
– craft wire cutter (purchased at ACE Hardware, Similar here)
– craft tweezers (I didn’t show these in my pictures, but next time I will use to help with some of the tiny threading)
– paper plates/glass bowls
– hot glue gun (if trying something different and wanting to experiment!)
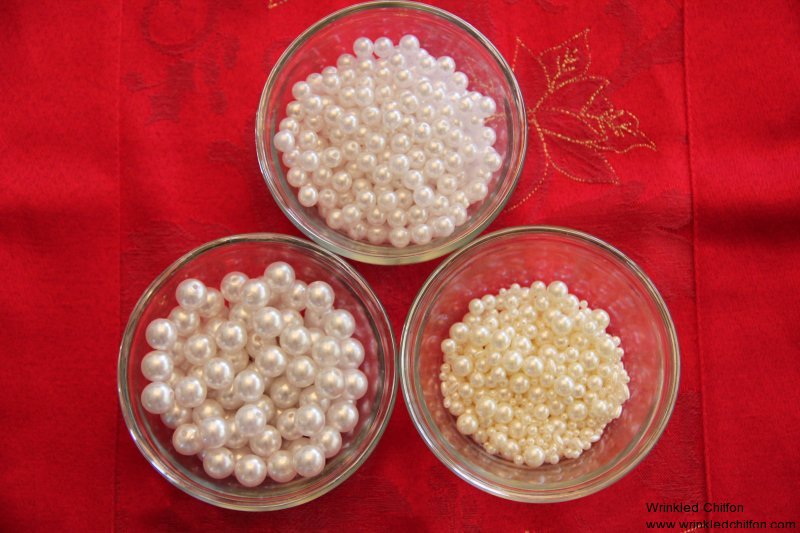
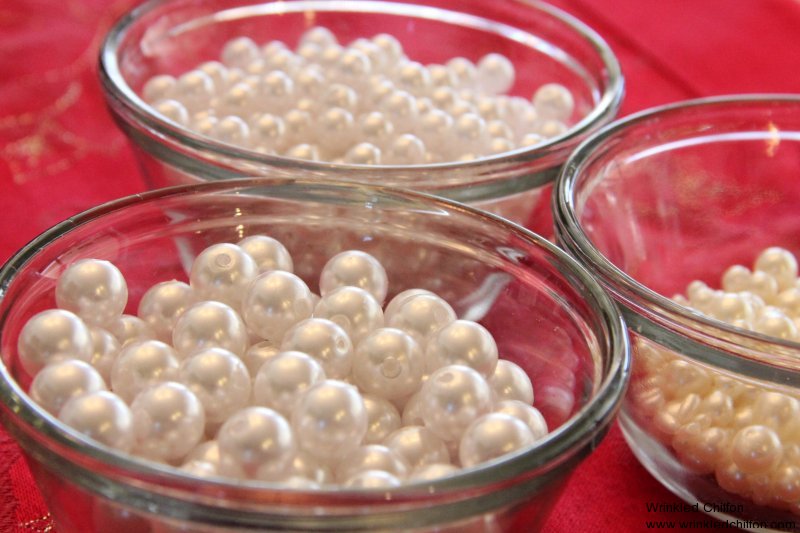
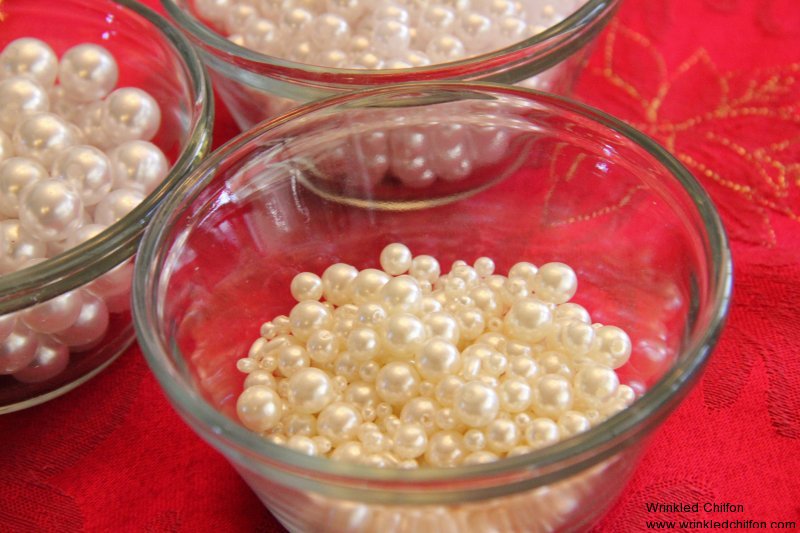
I purchased three bags of pearls – one larger white, one smaller white and another assortment of a more natural colored pearl.
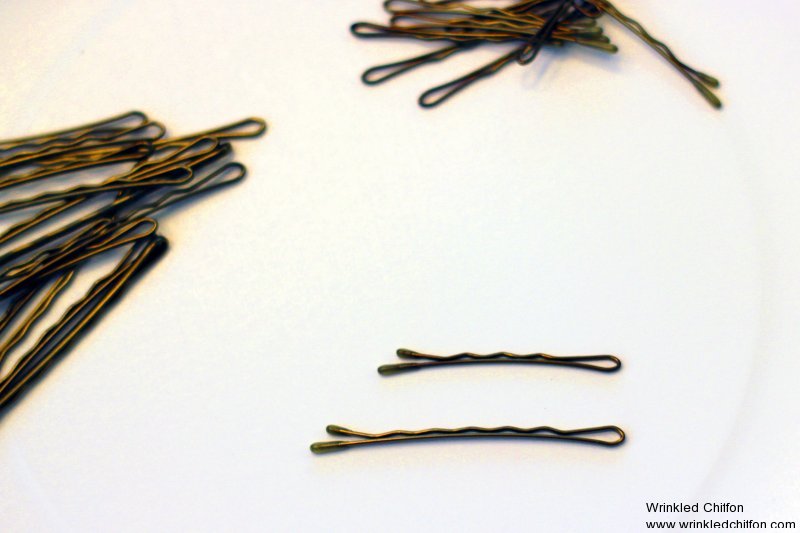
I purchased two different sizes of bobby pins.

I like using paper plates for my DIY projects because I can just throw them out at the end without making too much of a mess…it’s definitely an easy clean-up.
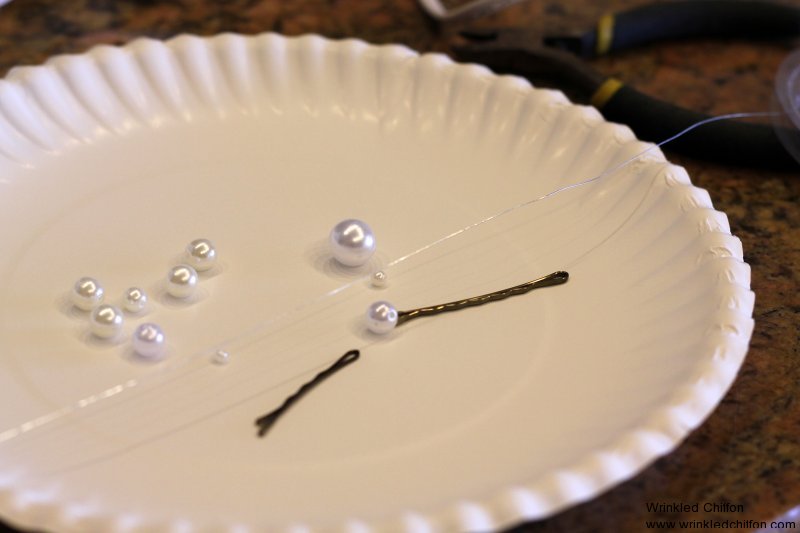
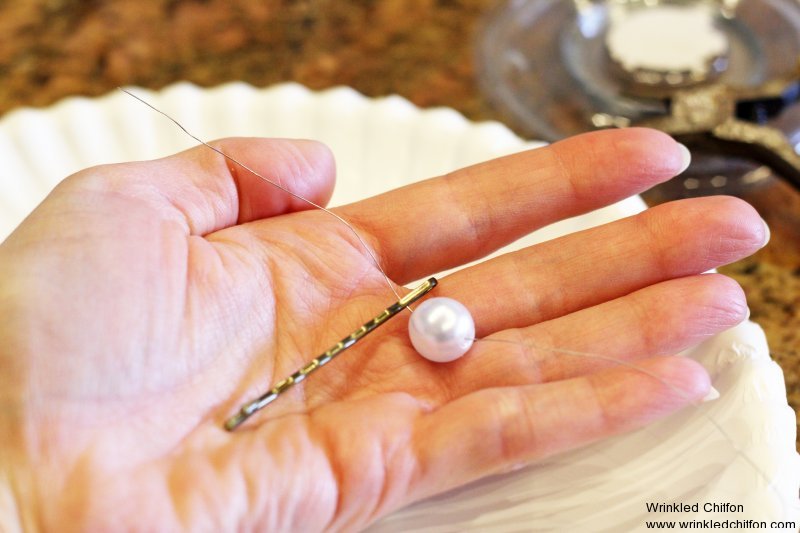
I cut the wire the length of the paper plate, approximately 6-8 inches depending on how many pearls I was using and what size bobby pin.
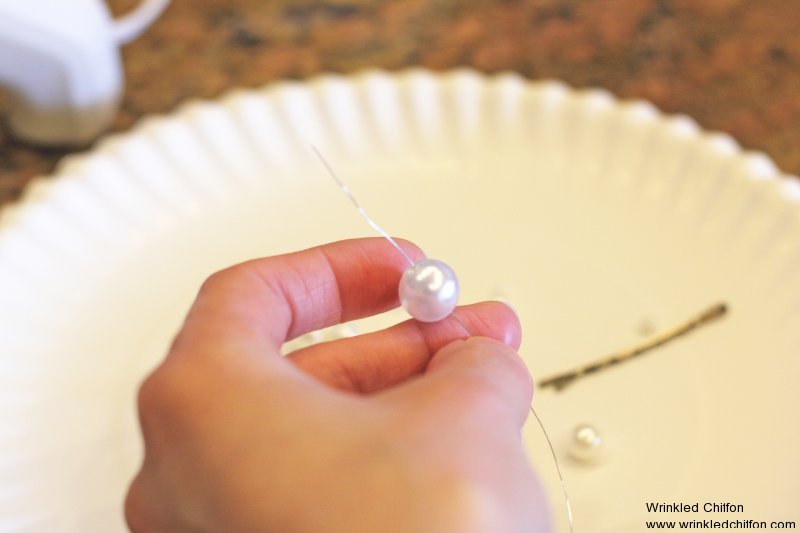
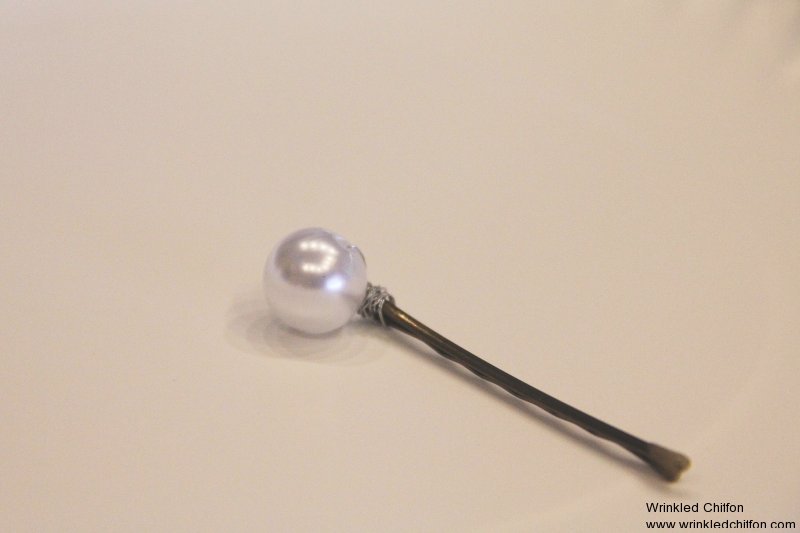
I threaded the wire through the holes in the pearls and then through the bobby pin.
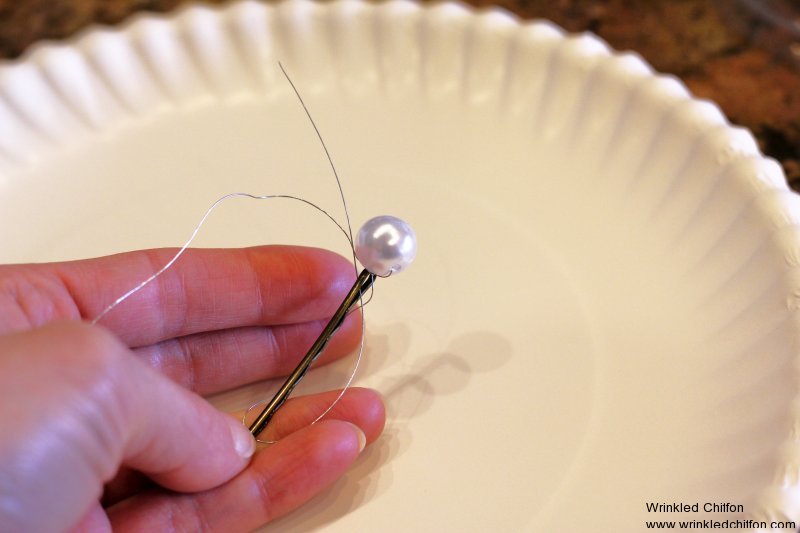
Then I twisted the wire through the holes and wrapped it around the top loop of the bobby pin. Next time, I plan on wrapping the wire through the loop and down the sides of the bobby pin. It’s funny how you always learn new ways you like things after the first time trying. Experimentation…that’s what DIY is all about!
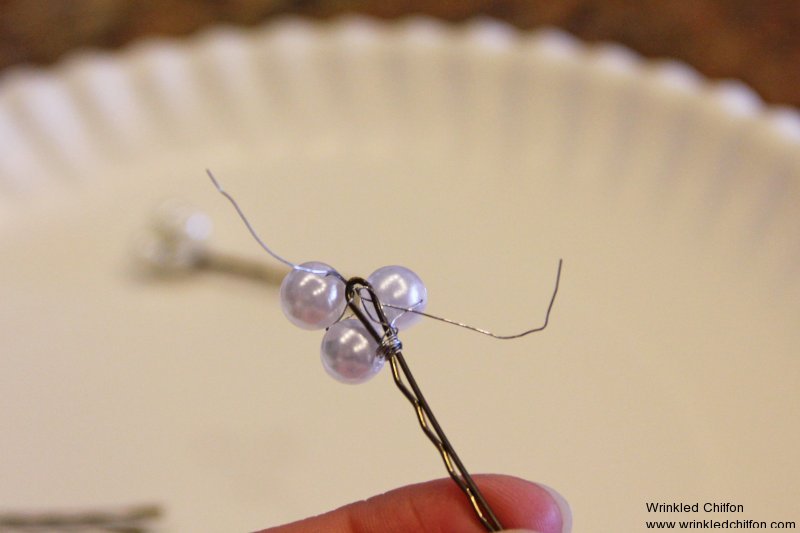
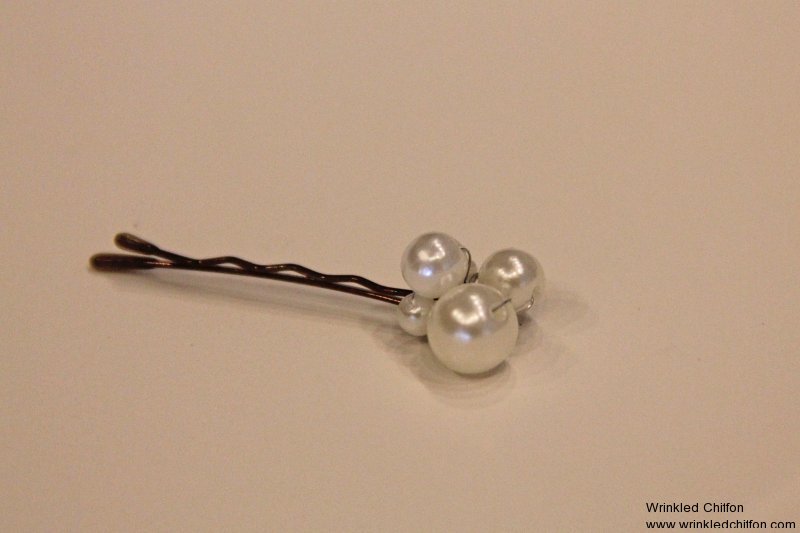
Here I added a couple pearls together.
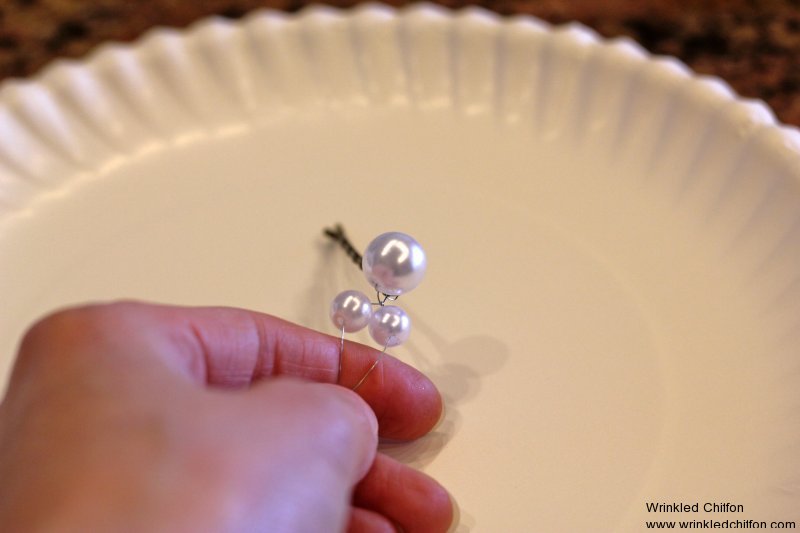
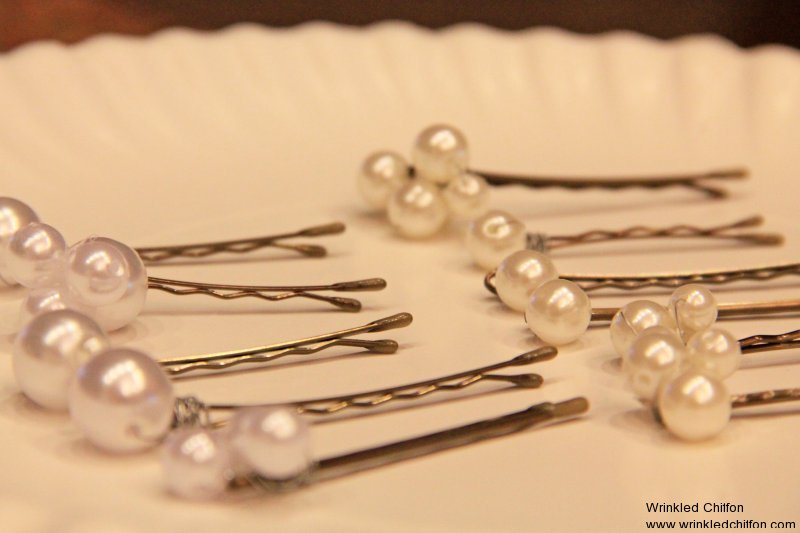
Finished product!
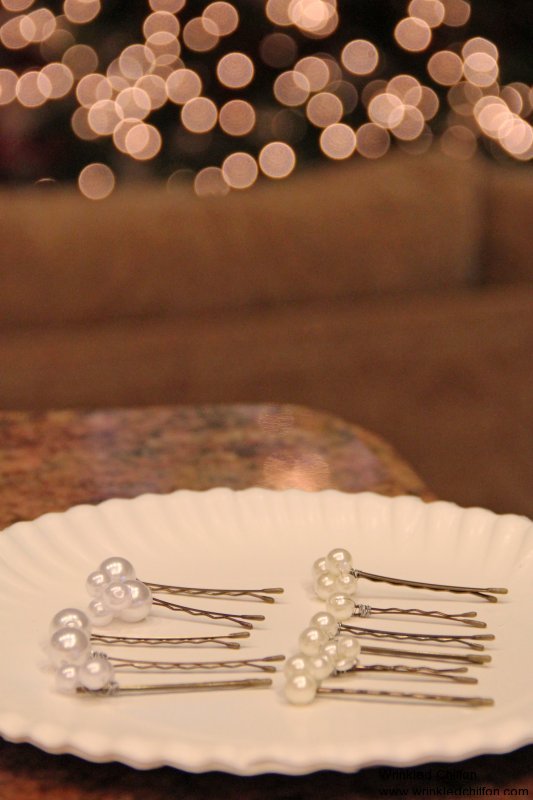
Stay tuned for how I style them…


Pingback: Adding Vintage to Your Style | Wrinkled Chiffon
Pingback: Playing in Plaid | Wrinkled Chiffon